Spring won’t let me stay in this house any longer! I must get out and breathe the air deeply again.
– Gustav Mahler
As I started writing and checked the calendar, Spring was just days away. It has now officially arrived. In my neighborhood, it is showing its face in the flowering red bud trees and quince, the daffodils, narcissus and tulips breaking the surface of winter’s ground.
Last March I ended a workshop in Georgia and came home to the “lockdown.” I chased spring in my neighborhood and spent the entire season at home (like everyone else). I was determined not to miss the party, even if I was the only one in attendance. This spring is different. Soon I’ll be in Charleston, South Carolina, leading a workshop, celebrating not only the season, colors and scents but also the opportunity to be out doing what I love in one of my favorite times of the year. I’ll be photographing flowers and gardens and sharing my passion for leading and teaching.
To “jump start” the season of blooms, I had ordered a large “market haul” of flowers from one of my favorite suppliers, Farmgirl Flowers. I figured I could use it to get in the groove and share some ideas and techniques. Then, I realized that most of my shooting would be indoors and under relatively controlled circumstances. That is not what we deal with when we’re out “capturing” spring or any other season. I decided to do some test runs in my neighborhood and in a few areas that are actually open for visiting. I encountered great overcast light, big winds and wet grounds. I got dirty and made it work.
Last month I wrote about working the big picture to the smalls. I realized that my pattern has been to dive in close and only briefly acknowledge the bigger picture. In the series for this post, I made a more focused effort to at least capture an image or two of my starting points (though not with an abundance of excitement). The thing is, I do take my time. I sit down, I explore and bend and twist for different views. I do it mostly before I even start shooting a subject. I definitely ponder. I recommend you try this as well. Through these images you’ll learn about my approach to flowers and creative progressions in the field under ideal and less-than-ideal circumstances. You’ll see some of the path, the thought process and the end results.
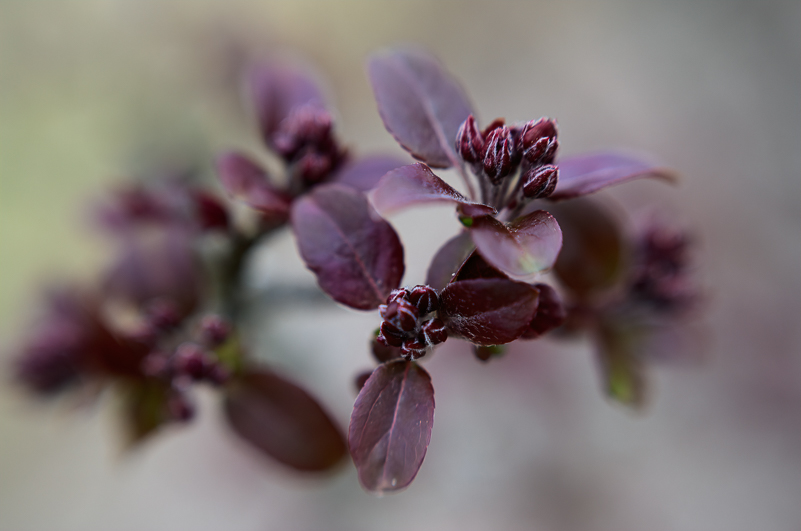
Buds of neighborhood tree with Lensbaby Sol 45
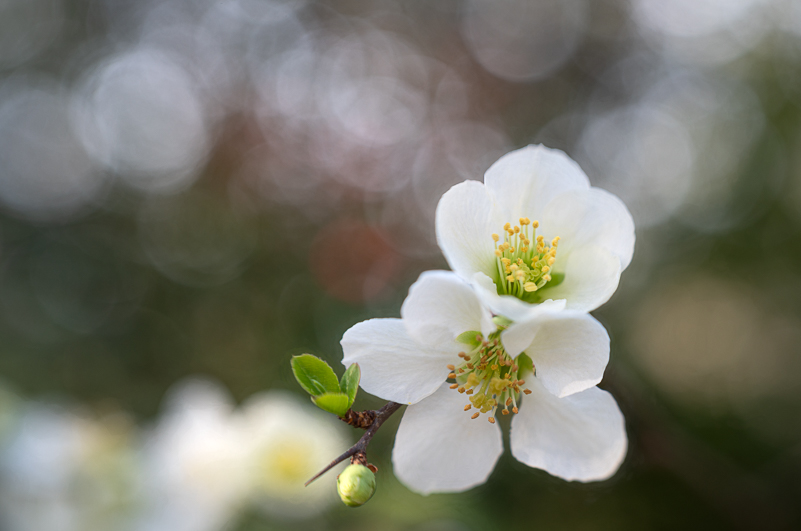
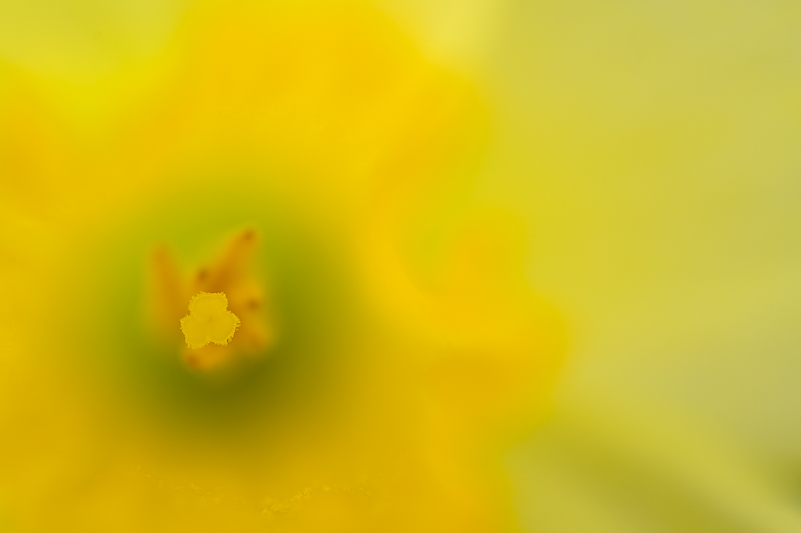
Flowering Quince with Lensbaby Sol 45
THE “STUFF” (aka Camera Gear) FOR THE FIELD
When I photograph flowers and gardens, whether at home, in my neighborhood or in old and new favorite places, I almost always bring the following: Camera, macro lenses, diopters, macro filters, a selection of Lensbabies, a diffuser/reflector set (22”), a small diffuser/reflector (12”), flashlights, water spritzers, and, yes, a tripod. I realize the tripod is the love/hate tool of the trade, but often it is simply a must. Even more stuff rides in the car when I’m meandering to gardens and other places. I pare down to what I think I’ll need in the field and accept that there will be at least one situation where I wish I brought just one more thing. When I photograph at home, an advantage is that I have everything I need or want at my disposal. No worries about forgetting anything – even dead batteries can be charging.
In the gardens away from home, I pack a lot of the same gear (and more), but once I arrive at my destination, I observe the light, the place and my mood. I make selections of lenses to bring into the field. What do I want to carry, lug or slog? I’ve gotten good at working in a macro lens, Lensbabies and macro accessories into the bag that allow me flexibility in compositions and creativity. I try to keep things relatively simple, even at home. Sometimes, I’ll use only one lens to challenge myself. And, it is a challenge. If I had to pick only one lens, it would be my Nikon 70-180mm micro (which has not been made in decades). If two, I would add the Lensbaby Velvet 56. If three, I’d add the Lensbaby Sol 45. In all cases, I would have macro adapters to get me even closer. And, so it goes … you see the rabbit hole, right? There’s always “one more thing.”
RESIST THE URGE FOR “EVERYTHING”
Do yourself a favor and resist the urge to bring and carry (lug, schlep or drag) every lens you have just in case you “might” want to use it or even better think you might “need.” Not having everything you own (assuming it all fits in one giant bag) lightens your load and lifts your creativity. It makes you use what you have.
While you’re at it, resist the urge to kick yourself for what you forgot or didn’t bring – in the field or for the trip. Give in to the urge to be open, have fun, play and create in ways that are different from what you normally do. Step out, no, JUMP OUT of your comfort zone. Of course, if I did that, I would be photographing people. That said, I realize that shooting with a wide angle is not something I do on a regular basis. I may need to step out in that direction. I will … just not for this post. The more we step out, the more we learn, and the more we grow.

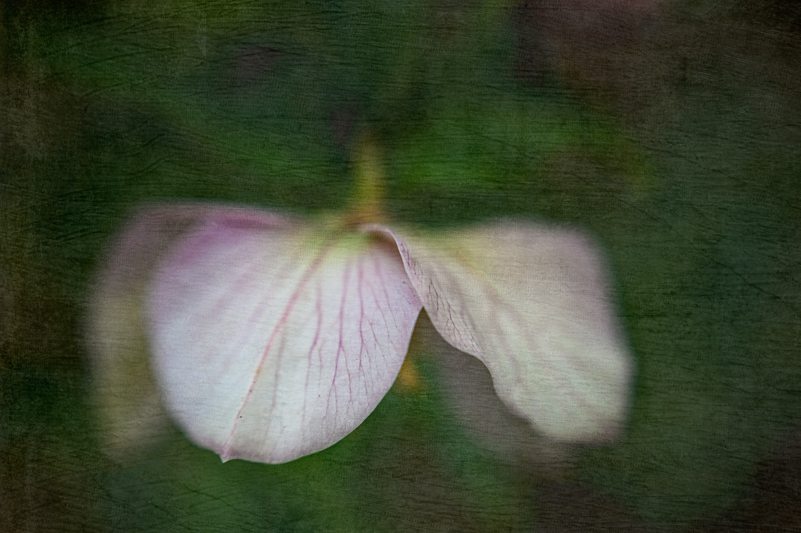
Tiny pink flower right outside my front door with texture.
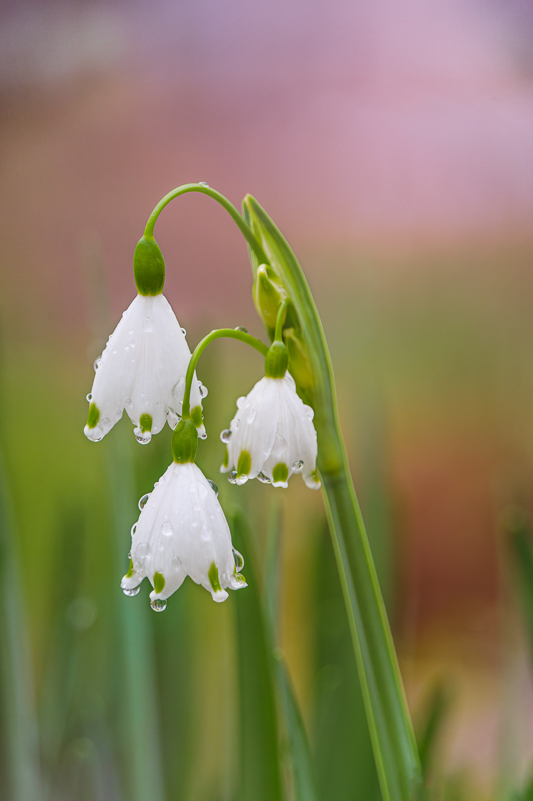
Snow drops at Tryon Palace in New Bern with Tamron 28-300mm
MY BASIC APPROACH
Truth be told, I really do make the observation pass when I’m out photographing. I don’t “plop, drop and shoot.” I can’t. I need time to tune in, settle down. That means being present, slowing down and figuring out what is tripping my trigger and why. Doing this gives me a starting point and direction. It opens up a path for working and connecting with my subject. It helps me decide what lens and other tools I want for each situation.
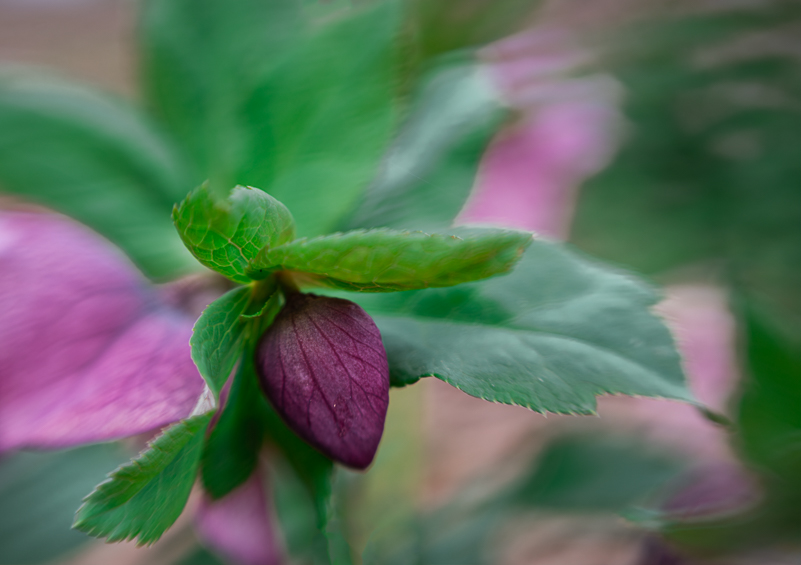
For example, this spring I’ve discovered how awesome and beautiful the hellebores are. How could I have missed that? In the Wilson Botanical Garden, there are several large groupings of the purple variety. Before I started shooting them, I looked at them from above, then sat down in the circle and began examining them, figuring out why I was so attracted to them. I leaned, I hovered and twisted in odd directions for different perspectives – all before I started shooting. Some of the images I wanted lent themselves to using a tripod, others didn’t. When handholding, I made sure that my shutter speed was fast enough by increasing my ISO and making sure that the stabilization (VR for Nikon) was on. I now have another favorite flower …
Warning: Start with the bigger picture. If for no other reason than to have a reference photo. That’s the one that tells me where the heck I was when I took the pictures. With no reference image and just a bunch of mostly close-up, macro and abstract flowers, I have no clue where I was and no way to know where to visit again at the same time of year. Taking pictures of signs with location names is also a good idea. It’s not always important, but sometimes I wish I started with the wider shot and moved inward. I’m working on that. What I know is that I do “see” the wider shot and do the pondering and inspecting before I start shooting. I guess I’ve been thinking that my reference photo will remain in my brain, that I’ll remember. Not always.
ACKNOWLEDGING THE LEFT AND THE RIGHT
We all see things differently, which is wonderful. Surprise – we all come to the table with a different set of everything (knowledge, life experience, and so on). You’ve probably heard about the left-brain (analytical & methodical) and right-brain (creative or artistic) thinkers and what makes us different (beyond the fact that we all are). My observations have been that while seeing “creatively” feels like a challenge to the left-brain folks, everyone is creative. It just doesn’t look or feel the same. And, it takes a bit more time and patience to move into the “artsy” zone for some. That said, it’s not a requirement at all.
Some of us (not me) are documenters. In part, these are the ones who want and need to have everything in focus and, often, make sure that nothing is changed in post. This can be a good approach for those who are recording the natural world as it is for specific reasons – conservation, science and history. Typically, but not always, this might include those who who operate more easily with their left-brain. These are the people who tell me that they find it hard to “be creative.” I argue that their creativity is simply different and challenge them to push past the comfort zone of an analytical and methodical approach. Most of us are a mix of left/right. Where we are dominant, we are most comfortable.
Others of us (including me) are creators, visual artists, “rule breakers.” Generally, it’s easier for us to move beyond what the subject “is” (like off the charts) and into how it makes us feel and zone in on the parts and pieces without feeling the need to make certain our viewer knows what it is. One could say that we can be perfectly okay with nothing in focus if the image communicates our impression or feeling. It’s not that being right-brain dominant is “better,” it just seems easier to maneuver in the less documentary approaches. By the way, neither set of thinkers are immune to getting creatively stuck. It happens to me all the time. Sometimes that means walking away, but mostly it means stepping back for a few, taking a break.
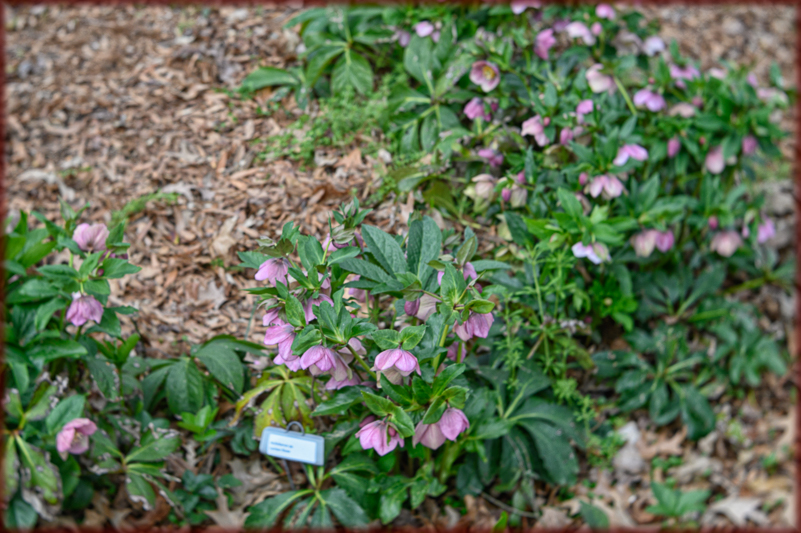
My “better late than never” reference shot of the hellebores that enthralled me.
My more typical reference shot of the hellebores with my Lensbaby Velvet 56.
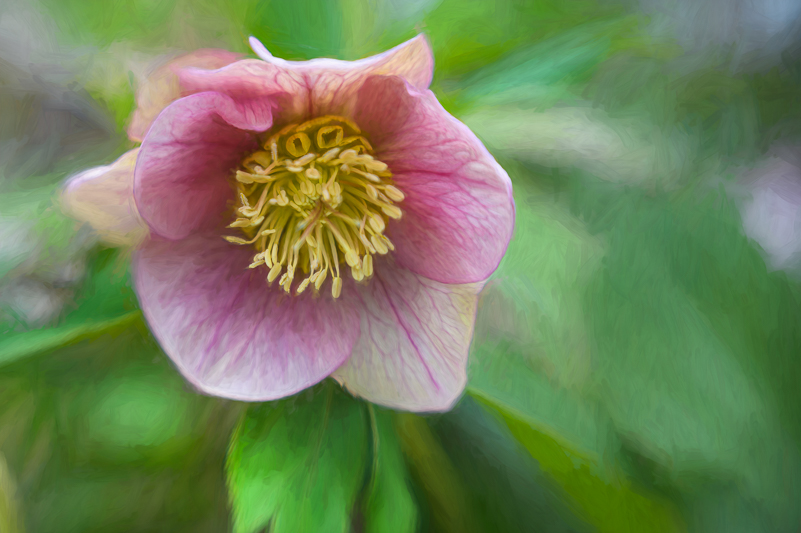
Hellebore portrait and a Topaz Studio 2 texture.
A FEW IDEAS FOR APPROACHING THE FLOWERS
As I mentioned already, it’s a good idea to photograph the larger scene, even if it isn’t a huge swath of your subject or the place. (You don’t have to share it if it doesn’t have a purpose beyond you.) It gives you and the viewer a point of reference and sense of place. When you move in, think about composition tools that can make your images stronger: color, lines, curves, shapes, textures, and so on. Think about what is attracting and holding your attention in each situation and work to emphasize that quality in your images.
Define your subject. There’s nothing worse than looking at an image and asking yourself, “why did I take this?” How do I know? Well, I’ve been cleaning out a closet full of photo albums and going back in time with my photography. When we’re new to photography, we don’t know what we don’t know. In the film days, we couldn’t see the results in the field. We had to wait to see whether we did or didn’t “get it.” With digital, the result is right there in front of us once we click the shutter. If you can’t see on the LCD screen your subject in the “best light,” you’re not done.
One method I use and recommend to define my subject is to ask myself questions, “Why did I stop? What do I like?” When I have the answers, I have a direction, a path and a purpose. I can then move forward – choose a lens, accessories, perspective, and whatever else I need. I am not allowed to leave the scene until I capture what made me stop. That means good composition, exposure and no distractions. It means experimenting until I hit on a series of images that make me feel good. (I am NOT concerned about whether others will like or appreciate what I’ve done.)
Experiment with depth of field and aperture choices. I often run a series of the same composition with different apertures and am sometimes surprised by the one I ultimately like the best when viewing on the computer. Keep in mind that the closer you are to a subject in the macro world, the more depth of field you will likely need. Sometimes, because of angle of approach, even f/32 will not be enough. That’s where the focus-stacking technique can help if what you want is everything in focus. Another challenge that many face when photographing flowers is where to put the point of focus. Depending on the subject, it’s important to define the area that would be most critical for your message. Often, we get caught up in the moments and the subject and don’t see the distracting out-of-focus area. This can be the part that is most forward facing in the image. It’s a balancing act.
When you use a technique called “shooting through,” your lens is too close to that particular area to grab focus and creates a wash of color. If the out-of-focus area is too big or too small, it can be a distraction. Review your images and find the balance. Experiment, play, and look at the images with a “critical” eye. We’re not judging, simply evaluating and working toward the best results. Keep shooting until you feel that you’ve “got it.” It may mean you have ten or more frames of the same composition, but it also means that you were working it for the best results. Same idea and approach when you’re working with the aperture choices and where you place your focus.
Capturing the flowering trees handheld with Lensbaby Sol 45
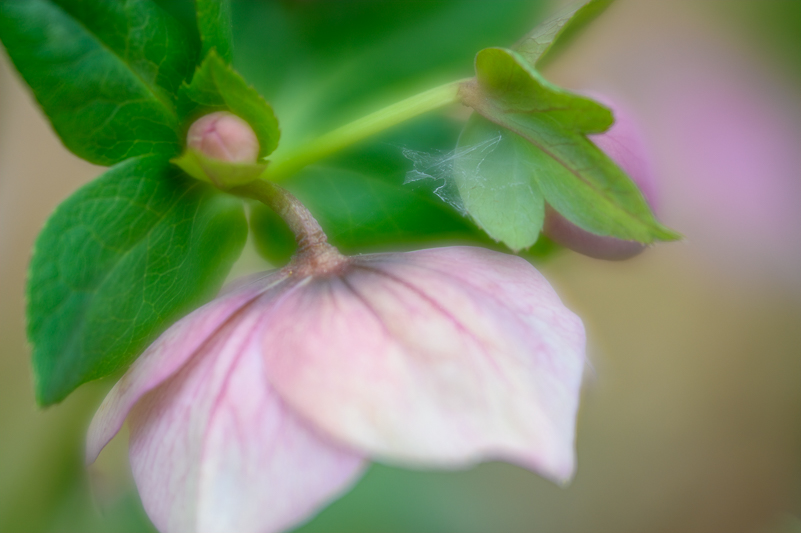
Another hellebore with Lensbaby Velvet 56 shot wide open (f/1.6). Loved the tiny web on the leaf.
Work your perspectives. Typically, I will approach a floral subject (large or small) from different positions. This means that there is no single place to stand or sit or set up that is the perfect spot. You could sit where I sit, use the same lens, match the tripod holes and still not come up with the same images I would. Besides the fact that I’m me and you’re you, the light could change, wind pick up or any number of other variables. It’s up to you to work it and find what you like best. Think about the “aerial” view, profiles, shooting from below. Often, it’s a matter of stepping slightly to the left or right or raising up or down a tiny bit that makes the biggest difference in the image. Consider groupings and solo blooms. Look for bugs and critters on the plants, too.
Don’t leave until you’ve wrung your subject dry of photographic options. If it made you stop to shoot, don’t disrespect it by doing a “hit and run” approach. What’s that? Click, click, okay, one more click, then you leave. If you do that, you’ve not even scratched the surface of the potential in front of you. (I know, some of you reading have heard this before. You’ve even shared that you hear me talking to you in the field when I’m not there. Good! I hope you’re listening.)
Watch your backgrounds. As most of us know, one sure way to kill an image is to have something distracting in the background. This goes for the bigger pictures, but also (and sometimes especially) for the smaller, macro images. A “bad” background is a great way to ruin an image. Is it too busy? Are the colors mismatching the subject? Are there bright or dark areas that draw the eye away from your subject? Can you do something to change that? Often, it’s a matter of changing your position slightly or changing your aperture and depth of field.
Clean backgrounds will never let you down. When you shoot wide open, it’s easier. If your subject requires significant depth of field, you have work to do. The further away your background is from the subject, the easier it is to control the look. Don’t leave until you’ve done your background check and “fixed” it in the field. Do the work. You’ll thank yourself (and me) later.
Moving in close on tulip with Lensbaby Sol 45 and macro filters.

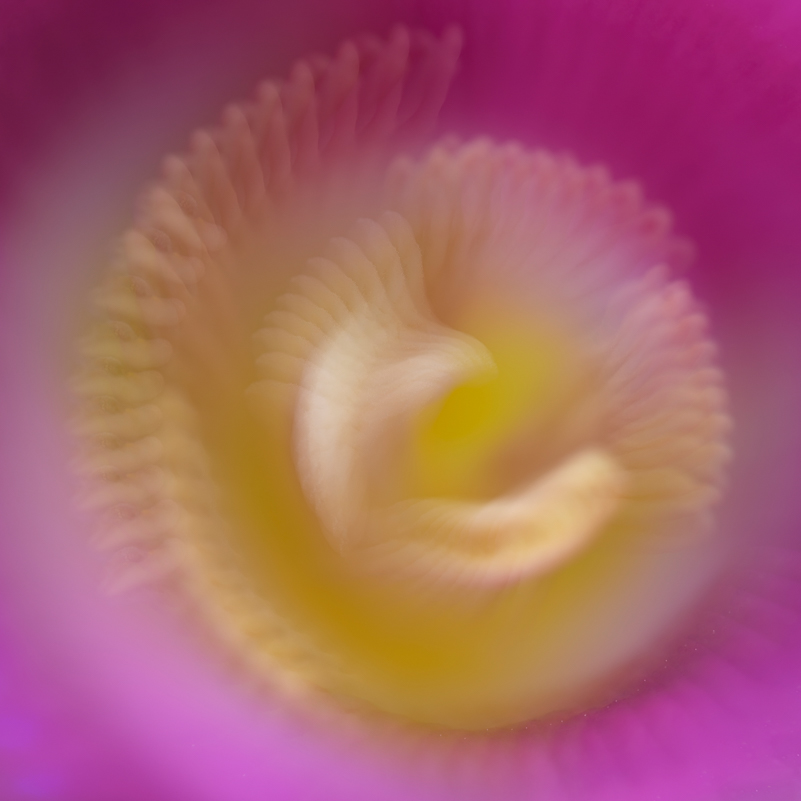
Tulip abstract with Nikon 70-180mm micro, diopters & Raynox 250.
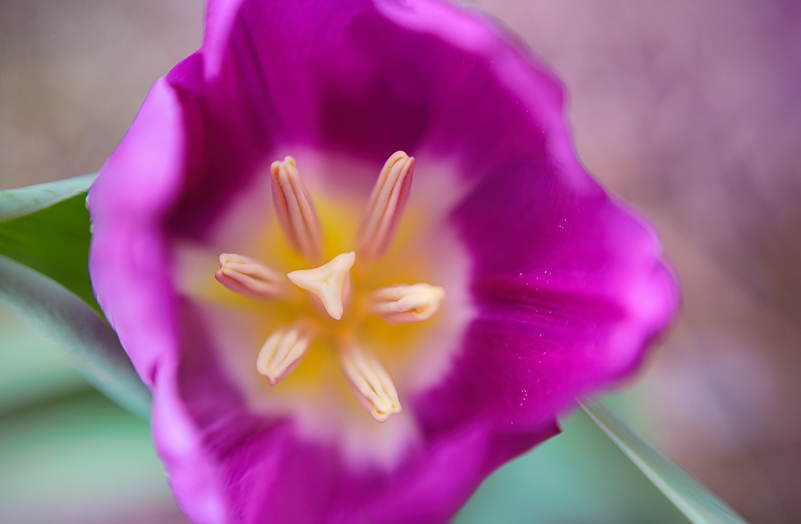
Aerial view of the same tulip with added texture to make background more complementary.
Go beyond the traditional – Get Creative. Once you’re confident that you’ve done all the “right” things, think about other possibilities. What else can you do? How about working an image for wash of colors and soft focus for abstracts? What about motion blurs or intentional camera movement? Sometimes those techniques communicate more fully your attraction to the subject. Think about in-camera multiple exposures. I have been most fortunate that my Nikons allow me to shoot up to ten frames in one. Others are limited to two or three. I don’t always use the ten, but I sure do love that I have that option. (My Nikon Z6 allows me to see where I am placing each successive frame using an overlay mode.) Check your camera and see what you’re able to do. You’ll be surprised at the creative opportunities that await. These techniques move into the abstract zone, some more than others. Again, just another way to go deeper with your subjects.
I would be remiss if I didn’t mention my “babies.” I’ve been a Lensbaby user (happy addict) for over twenty years and have a roller bag full of untraditional options. I love them, just saying. What I love about the Lensbaby is that the creative effects they generate are seen through the lens while I am shooting. The images also require very little post-processing. And, while I do love them all, my favorites are the Velvets (56), Sweets (80) and Sol 45. Each gives a different look and feel, and I work at least one of them into my camera bag for every outing.

Intentional camera motion blur – slight twist with the motion on a flower-filled bush.
Ten-frame, in-camera multiple exposure with Nikon 70-180mm micro. Much easier with this lens and those with tripod collars. Likely added some diopters for even closer perspective.
In a world of daffodils on a windy day, pick one and dig in. Made with Nikon 70-180mm micro, diopters and lots of patience. ISO 250, f/5.6 at 1/200 sec on a tripod.
FINALLY, FLOWERS IN POST-PROCESSING
Making the image in the field is only the beginning. It is where we should do our best work, stay longer, work harder. It is where we want to declare and refine our vision to bring our very best home. When I am faced with an overwhelming array of subjects (like 60 acres of flowers), I make the decision to go deeper and know that I’ll come home with less diversity. I’ll work fewer subjects, but they will be worked longer and more intentionally. I know and accept that I am not able to photograph everything in front of me. Well, I can, but not without compromise. More is not always better. Working in this way, I come home with images that typically don’t need “fixing.” What I come home with are images that are open to refinement and creative exploration.
The creative tools I use in post processing include Photoshop, Nik Collection, Topaz Studio 2 and textures. I blend images and use masking to match my vision. I use post processing as an opportunity to create images that make me feel something. This means that sometimes the images are uplifting, light and airy; other times they could be dramatic, dark and heavy; and many land somewhere in between. It’s your call, and mine, when we sit at the computer to review our images. Where do we want to go with them? How do they make us feel? What do we want them to share? The answer to those questions will be similar and different every time. A phrase I recently used is, “Shoot what you love; edit how you feel.” This works for me.
This single hellebore asked to be kept in the 2 Lil Owls textured shadows. Handheld with Lensbaby Velvet 56, ISO 250, 1/2000 sec.
And the hellebores kept calling for their close-ups . . .

My list of favorite flowers is growing. The purple hellebores have won my heart.
GET OUT AND GET GOING
Regardless of where you are in your photography journey, and whether you feel you’re creative or not, get out! Grab your camera and find something that makes you smile and shoot it. If it’s a bunch of flowers, wonderful! If it’s a big tree or old barn with daffodils (or not), perfect. We’ve come through the winter season of neutral colors. Consider some of what I’ve shared here. The party has started! Don’t let it happen without you.
As Gustav Mahler said, “Spring won’t let me stay in this house any longer! I must get out and breathe the air deeply again.” It’s time! (And, if you get a chance, take a listen to some of his music.)

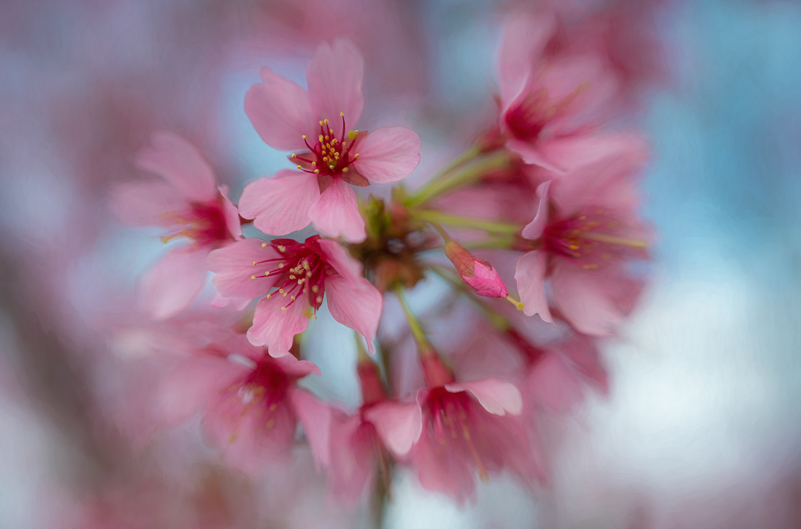
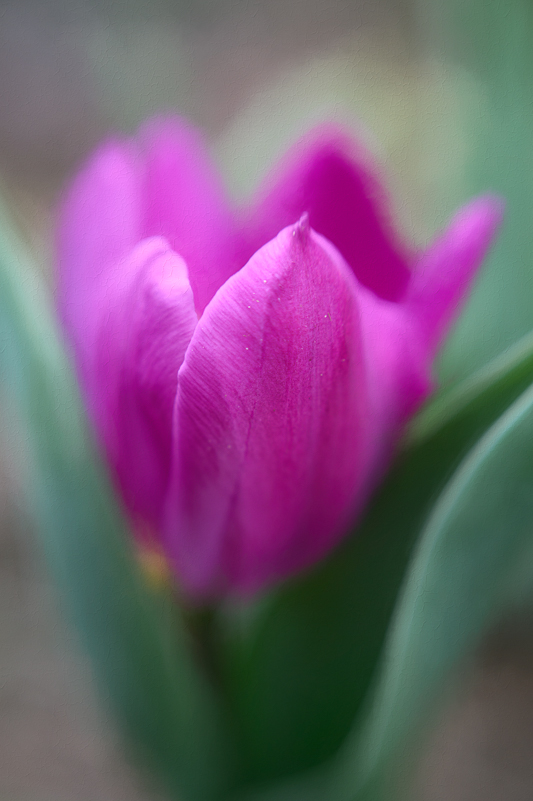
With beautiful colors and simple background, the shapes, lines and colors of the tulips are magical.

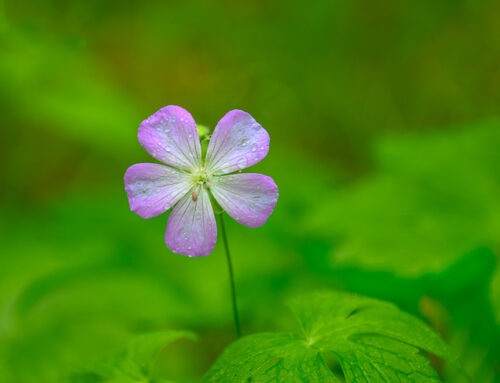
It’s not always easy to tell which Lensbaby I’ve used. The telltale pattern of engaged blades on Lensbaby Sol 45 certainly help.
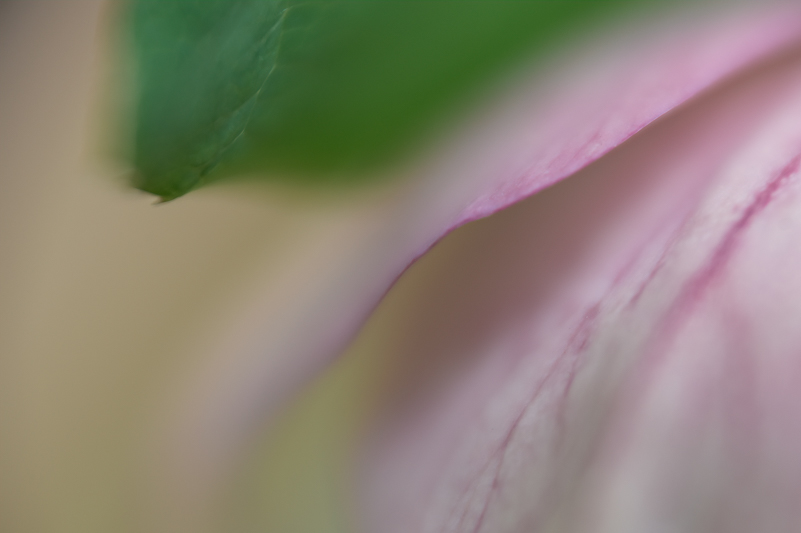
Super shallow depth of field with Lensbaby Velvet 56 and only a small sliver of a petal edge on this one.