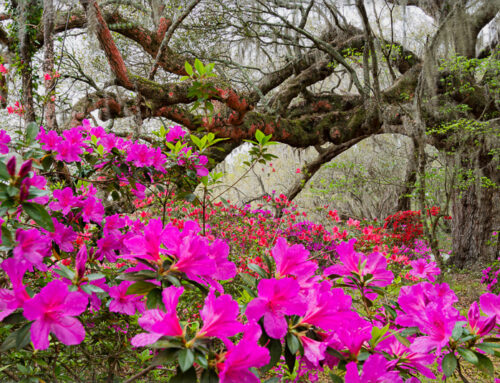
There are many ways to render a scene in an image. Most photographers are familiar with the need for slower shutter speeds to achieve the silky look in streams and waterfalls (small aperture, ND and/or circular polarizer filters). There are also motion blurs that can be achieved by zooming, panning and spinning. We can attain an even more ethereal look with ultra-long exposures that give the effect of stretching time within one frame by adding a neutral density (ND) filter that hold back light up to or more than 10 stops of light. If you haven’t tried this technique before, read on. For these longer exposures (such as 30 seconds or more), there are some tools you need to have and steps to take to get going.
WHAT YOU NEED
Besides a camera and lens (generally, but not always wider angle), you will need the following: A sturdy tripod (no movement is critical); shutter release device (corded or wireless); viewfinder cover (in-camera viewfinder curtain, one supplied with camera or gaffers tape); a timer (in camera, stopwatch, phone app timer); and a 10-stop ND filter (variable ND range is generally 3-8 stops). You may even want to have a 3-stop, 6-stop ND filter in your bag for when you want to add more filtration of light. A bubble level or virtual horizon level (in camera) is very helpful for level horizons. Use your lens hood or shade the front of your lens whenever possible.
A LITTLE ABOUT ND FILTERS
There are a number of popular options for ND filters. The B+W 10-Stop ND (www.schneideroptics.com) screws onto the front of your lens. To use this on lenses with different filter sizes, invest in a set of step-up rings (adapters) so you don’t find yourself trying to hold this filter in front of your lens for long periods of time. Even 30 seconds can seem like an eternity of you have to do this. (I currently use this ND filter.) The Lee Big Stopper 10-Stop ND (www.leefilters.com) comes with adapter rings, filter holder and the filter. With this system you can stack filters without major concern for corner vignetting. (There is also a Little Stopper, which holds back 6-stops of light). Singh-Ray Filters 10-stop ND (www.singh-ray.com) also screws onto front of your lens. Singh-Ray also offers a 5-stop and 15-stop solid ND filter.
NOTE: If you are shooting with a converted infrared (IR) camera, the filtration is lower. You will need to use a shorter exposure time or add additional ND filter. If you also want to use a circular polarizer (CP), attach this to lens and adjust first. You will need to make sure that the CP and focus ring do not move when attaching the screw-on ND filters to your lens.
THE PROCESS AND RESULTS
If you’re in a hurry, you may want to wait until you have the time and patience to capture long exposures. You also want to make sure that you have plenty of memory and battery power. When choosing your subject, look for something in the scene that can serve as a visual anchor such as a fence, building, tree or rock so that the viewer’s eye has a place of rest and reference. You want this visual anchor to serve as a balance for the element in the scene that is moving such as clouds, water, flowers, grasses or other objects. Choose your subject, perspective and composition before setting up on your sturdy tripod so that you have explored options other than eye-level (or extended-legs tripod level). Now, you’re ready to begin:
- Set up your camera and lens on tripod, refine your composition and make sure your horizon is level.
- Meter the scene to get your base exposure without the ND filter. Choose a small aperture (usually f/16 or smaller) and obtain focus.
- Lock focus by switching to Manual. Carefully attach the ND filter of your choice. When doing so, be sure that you don’t shift focus.
- Calculate and set the new shutter speed. If over 30 seconds, switch to Bulb Mode. (ie., If base exposure is 1/500 seconds, new shutter speed is 2 seconds; 1/8 sec extends to 30 seconds, and so on.)
- Be sure to cover your viewfinder, either by using the in-camera viewfinder curtain, the provided eyepiece cover or gaffers tape, so that no light enters.
- With hands off your camera and timer device ready, press and hold/lock shutter release to take the picture. Without a shutter release device, your camera’s self-timer feature will work for up to 30-sec. exposures. (For ultra-long exposures, you may want to turn on the noise-reduction feature in your camera.)
- View your results and refine the composition or exposure to taste.
- Process your favorite images to express your personal vision,and share with the world.
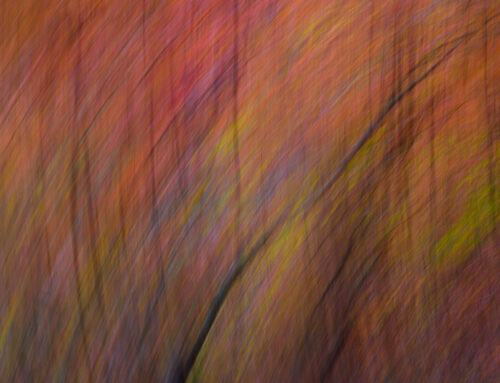
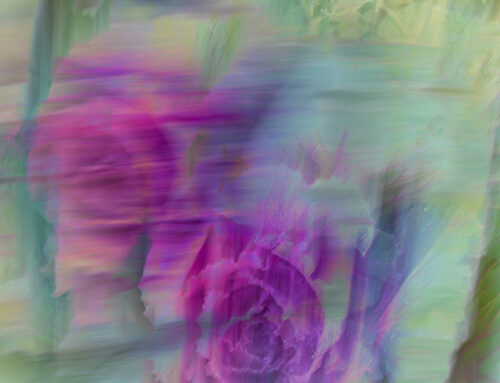
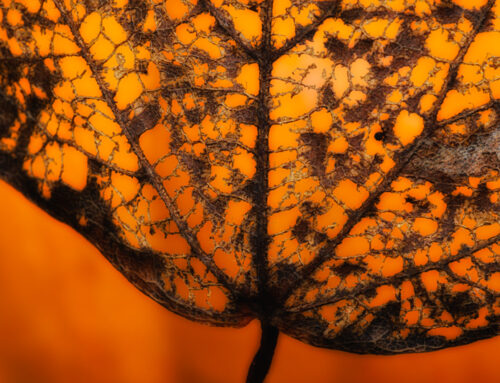
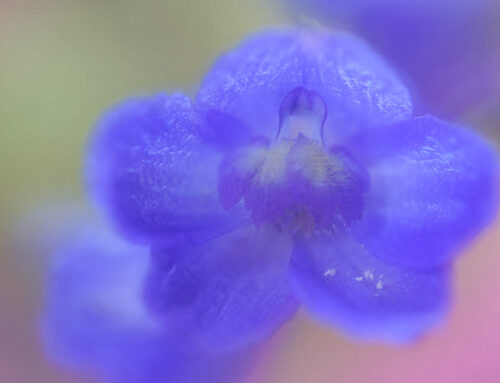
Here are some sample images with settings used (All on tripod using B+W 10-stop ND and shutter release cable).


